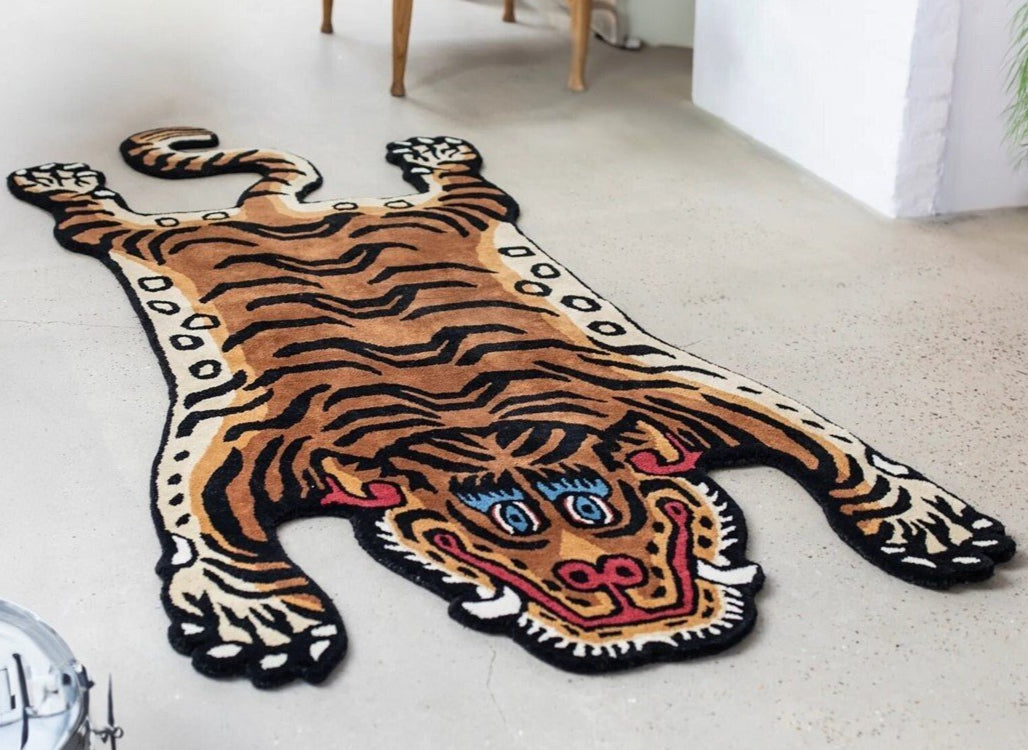

Keep pace with Jamie C’s custom hand-knotted rug, Anamika
This journey begins with the design map and raw materials. From arranging motifs and preparing wool, to dyeing, loom setup, weaving, and finishing, each stage will be documented as Anamika comes to life.
Arranging the Design Map
The design map is the blueprint for the entire rug. It isn’t decorative paper—it’s a coded language that only trained weavers can read. Every tiny square on the grid represents one hand-tied knot. Colors are carefully marked, sometimes with dozens of subtle variations, and the chart runs row by row across the loom.
For us as outsiders, the map looks abstract, almost like pixel art—but for the weaver, it is like sheet music to a musician. Sitting at the loom, they glance from the map to the warp threads, knotting each square into place. One misplaced knot could break the rhythm of the pattern, so accuracy here is critical.


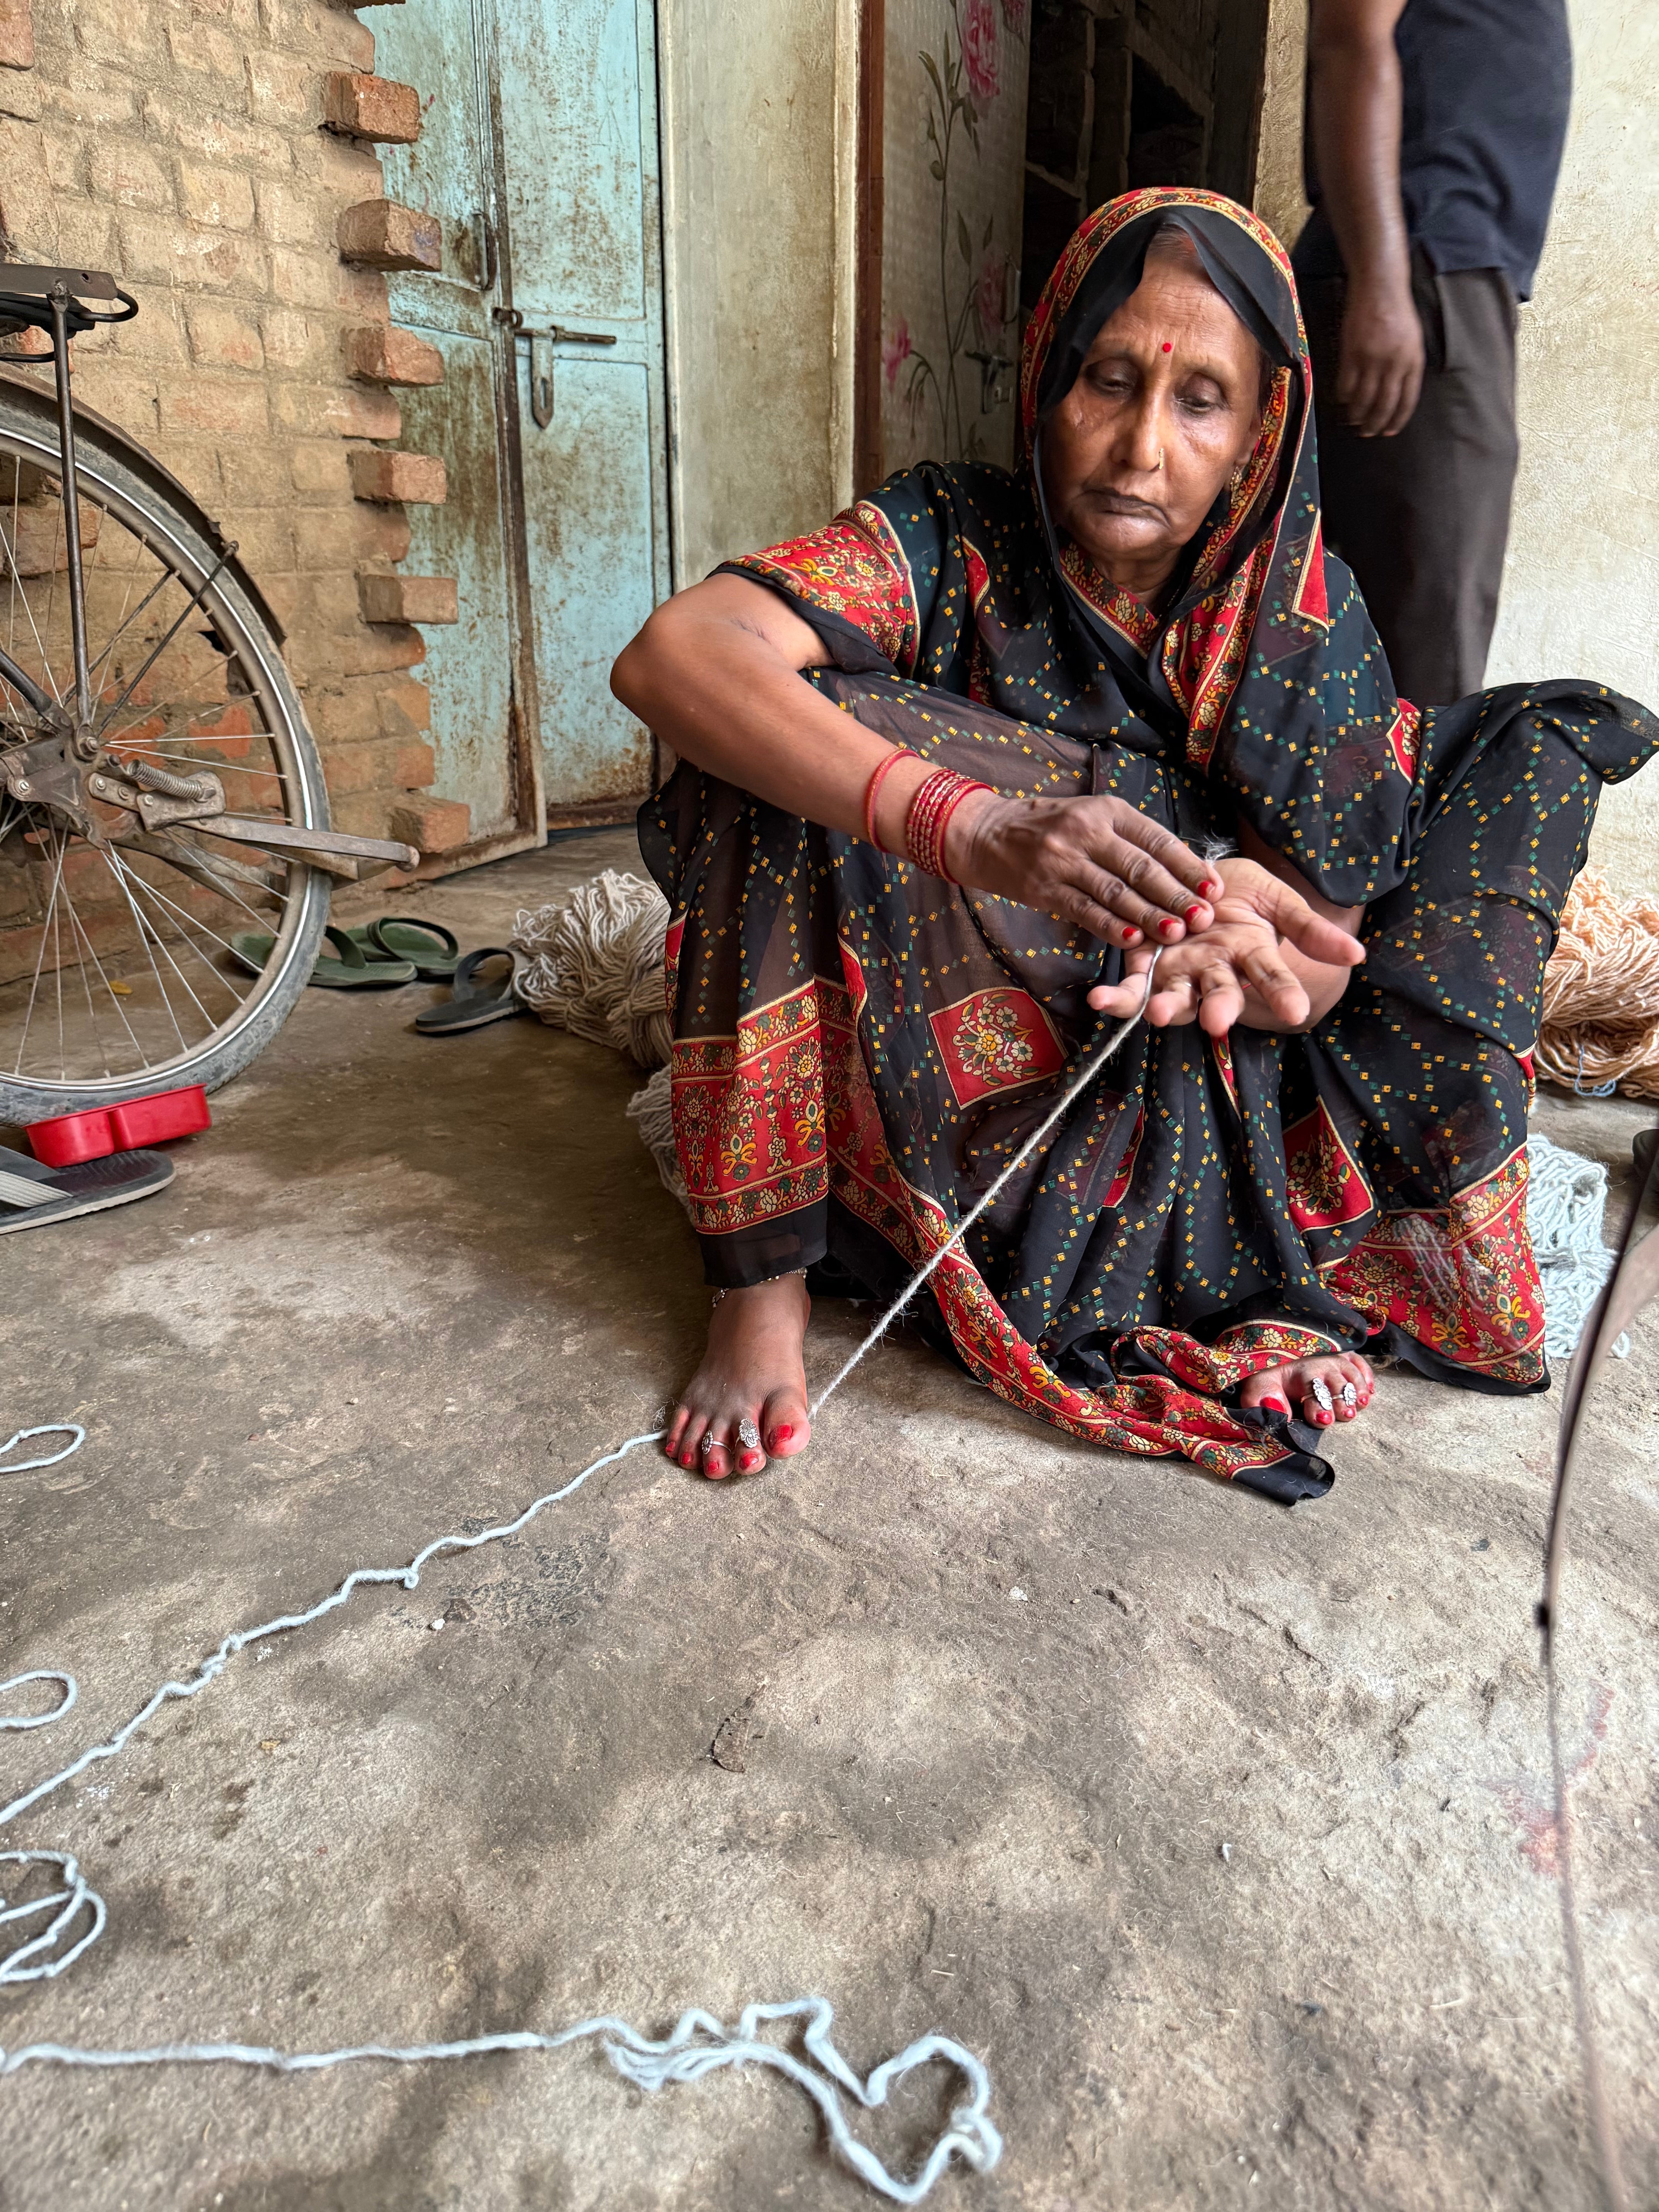
Raw Wool & Material Prep
Raw wool bundles are prepared beside the map. Each lot is checked for quality and matched to the design codes for accuracy in weaving.

Dyeing Started
Dyeing by Bachche Khan (not pictured).
Today we began dyeing the raw wool for Jamie C’s Anamika custom hand-knotted rug. Below are videos and photos directly from the dye workshop.


The raw wool will fully dry and rest before being wound into balls for knotting. This pause ensures the shades stabilize and remain consistent throughout the weaving.
Important: The Core Weaving Hasn’t Started Yet
We’ve completed the design prep — map arrangement, material selection, and dyeing. Next we will set the loom, then begin knotting, followed by the finishing stages.
We’ll update this page the moment loom setup begins and new photos are available.
Loom Setup
The loom is warped and tensioned, creating the foundation for Anamika’s weave.
Knotting
Thousands of knots are tied row by row as the motifs emerge like a painting in wool.
Trimming (Shearing)
The surface is clipped level to bring clarity and refinement to the design.
Washing
A careful wash softens the fibers and brightens the hues.
Sun-Drying
The rug dries under sunlight, setting the colors and giving the wool a natural glow.
Stretching (Blocking)
Dimensions are perfected so the rug lies flat and square.
Binding & Edge Finishing
Edges are bound and reinforced, ensuring durability and polish.
Final Quality Check & Packing
Each detail is inspected — knots, size, and finish. Once approved, Anamika is packed for Jamie C.

Thank you, Jamie C, for allowing us to share the journey of Anamika.